The Layout Kit That Stops a Bad Cut Before It Starts
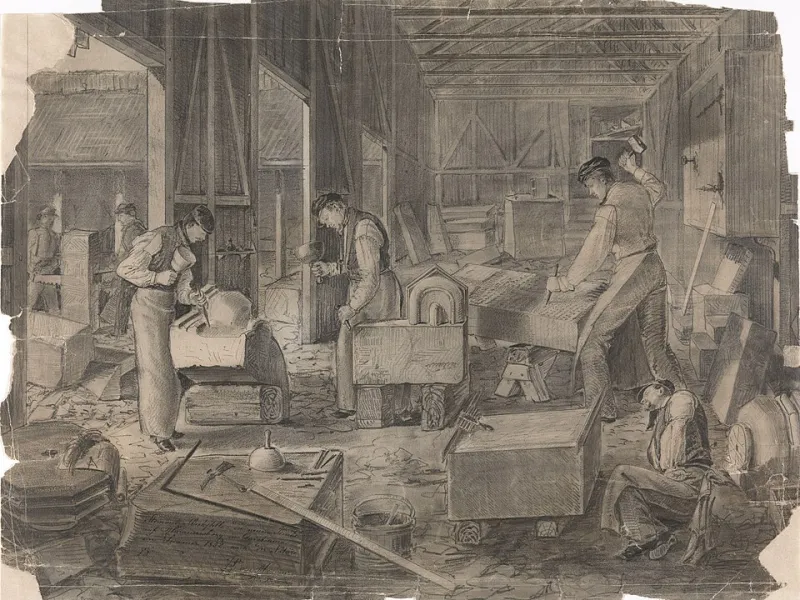
Photo: Wilhelm von Hanno, Public domain, via Wikimedia Commons
There is a particular kind of silence in a stone shop after someone has cut a window sill 20mm short. It is not the saw. It is the moment everyone looks at the datum line and quietly works out who marked it. Layout kit is not glamorous. It does not have a diamond blade or a dust extractor. But it is the stuff that decides whether the expensive bit of stone becomes a finished job or a very heavy offcut.
Start with the story pole, not the tape
A story pole is still the most useful layout tool in the workshop. It is a straight, stable batten marked with every relevant height or setting from one datum: sill, head, course lines, step rises, fixing centres, whatever the job needs. You make it once, check it twice, and then use it instead of adding up a chain of tape measurements in your head.
Use a good PSE batten, not a scrap of skirting. It needs to be straight, light enough to handle on your own, and long enough for the full height of the work. Mark it clearly with a sharp pencil and seal the marks with a thin coat of clear acrylic or lacquer so they survive site handling. Write the job name and date on it. If you are setting out a run of steps, mark the rises on one face and the going line on another. For window surrounds, mark the sill height, head height and any reveal set-back from the face.
The rule is simple: the story pole carries the numbers, not your memory.
The marking kit that earns its space
You do not need a drawer full of gadgets. You need a small kit that is always complete and always in the same place.
- A combi square or engineer's square. A combi square is handy for 45-degree marks and checking sill horns. A decent engineer's square is better for checking a true 90-degree corner on a template or a sawn block. Buy one that feels solid in the hand; a sloppy square is worse than no square because it lies to you.
- A sliding bevel. Essential for copying existing angles, roof pitches, step nosings and awkward reveals. Set it from the job, lock it, and transfer the angle to the template or stone. Do not rely on a digital angle finder alone; the bevel does the marking.
- A chalk line. Still the fastest way to mark a long straight line across a slab or a run of blocks. Use a proper chalk line reel and a chalk that suits the surface. On dark stone, a white or blue chalk shows up; on light stone, red or blue. Avoid permanent marker on finished faces.
- A laser level. A red-beam laser is fine for indoor workshop use, but a green beam is easier to see in a bright shop or near a doorway. In 2026, a self-levelling cross-line laser is not a luxury if you are setting out repeated heights. Check it against a known datum before you trust it, and keep the tripod or wall mount with it.
- Pencils that actually mark stone. A standard HB carpenter's pencil is fine on timber battens, but on stone you want something sharper and more visible. A 2H or 2B pencil, a mechanical pencil with 0.7mm lead, or a fine white pencil for dark stone. Keep a pencil sharpener and a small block of sandpaper in the kit. A blunt pencil is a layout error waiting to happen.
- A marking knife or scribe. For fine joint lines and template work, a knife line is more accurate than a pencil. Use it lightly and only where the mark will be cut away or hidden.
Battens, templates and the humble hardboard
Battens are not just for story poles. Short battens make excellent straight edges for marking across rough stone, and thin ply or hardboard is ideal for templates. For a window surround, cut a template for the reveal and sill profile rather than trying to measure every face separately. For steps, make a template for the rise and going so each step is checked against the same shape.
Label templates with the job, the face, and the date. A template that cannot be identified is just a random offcut with holes in it. Store them flat, not leaning against a wall where they can warp.
A layout routine that keeps you honest
Before any saw starts, run this sequence:
- Establish one datum. Pick a fixed height or face and write it down. Everything comes from that. Do not mix datum points halfway through.
- Check square with a 3-4-5 triangle. Measure 300mm one way, 400mm the other, and check the diagonal is 500mm. It is quick and it catches a surprising number of wonky corners.
- Mark the story pole from the datum. Double-check every mark against the drawing or site measurement. Then check it again with a different tool if possible.
- Transfer marks to the stone with a sharp pencil or knife. Use a batten as a straight edge for long lines. Mark the waste side clearly with a cross or a hatch.
- Dry-lay or offer up before cutting. For steps, set the first two or three units dry to check the rise and going. For window surrounds, check the sill and head against the template and the opening.
- Record the final dimensions. Write them on the story pole or template. If the job comes back for a second unit, you are not starting from scratch.
UK buying advice without the nonsense
You can spend a lot on layout tools, but the returns fall off quickly. A decent combi square, a solid sliding bevel, a reliable chalk line and a self-levelling laser will cover most small-shop work. Buy the laser from a brand with UK spares and a warranty you can actually use. Check that the tripod thread is standard and that the mount is not made of cheese.
For story poles, buy a bundle of straight PSE batten from a local timber merchant and keep a few lengths aside. They are cheap, expendable and far more useful than a fancy folding rule for repeated heights. For templates, hardboard is fine; do not sacrifice good plywood for a one-off shape unless you need the stiffness.
The best layout kit is the one you reach for before you are tempted to 'just cut it and see'. Measure twice, mark once, and keep the story pole where you can find it. The saw is the last step, not the first.