Sharper Edges, Shorter Days: Setting Up a Masonry Sharpening Station

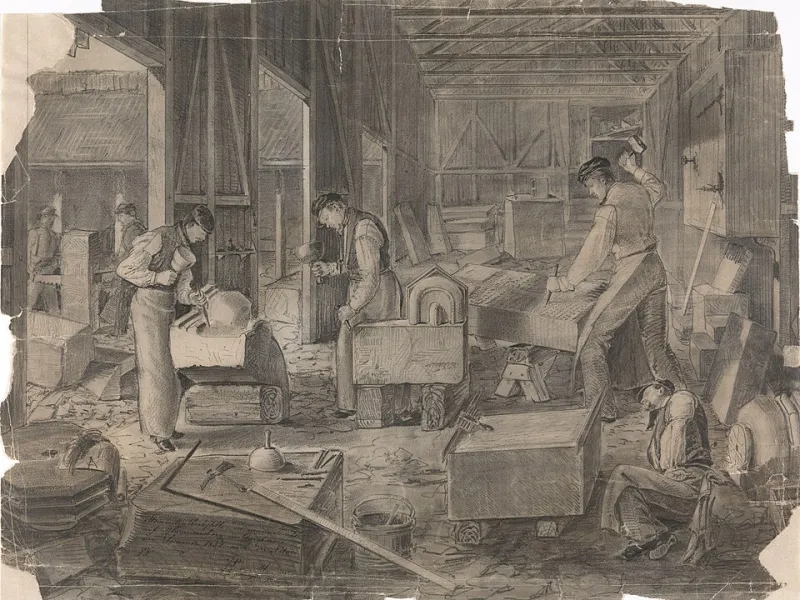
Photo: Frank C. Papé, Public domain, via Wikimedia Commons
A dull masonry chisel is expensive in a way that never shows up on an invoice. It skips across the stone, leaves a bruised face, sends dust where you do not want it and tempts you to swing harder. The answer is not a bigger hammer. It is a small sharpening station that you actually use, set up so that touching up an edge takes minutes rather than becoming a Saturday job.
What the bench actually needs
You do not need a full toolroom. A 600mm stretch of sturdy bench, good light and a shelf for plates and consumables will do. The bench wants to be at a comfortable height for standing work, with enough room to clamp a tool or hold it steady. Put it near a window if you can, but add a decent task light because you need to see the bevel, not just the tool. A white or light grey surface helps you spot a chip or a wire edge.
The core kit is simple: a coarse diamond plate for reshaping, a finer diamond plate for honing, a spray bottle of water, rags, a permanent marker, an angle gauge or a simple wooden jig, and a tray to keep the mess contained. Add a small vice, a wire brush, a set of diamond burrs for rotary work if you use them, and a lidded box for the tools waiting to be sharpened. Keep the bench clear. A sharpening station buried under offcuts is just another flat surface.
Diamonds are the sensible default for masonry tooling
Masonry chisels and points are hard on abrasives. Carbide-tipped tooling will laugh at a cheap oilstone, and hardened steel chisels are not much kinder. Diamond plates cut fast, stay flat and work on both steel and carbide. A coarse plate around the 260–300 grit mark is useful for taking out nicks and resetting a bevel. A finer plate around 600–1200 grit is enough for a working edge. You do not need a ladder of five stones. Two good plates, kept clean, will cover most small-shop work.
Use water, not oil, on most diamond plates unless the manufacturer says otherwise. A light spray keeps the dust down and stops the plate clogging. Do not lean on the tool. Diamond plates cut by abrasion, not by brute force, and too much pressure wears the plate and rounds the edge. Clean the plates after use, dry them and store them flat. Cheap plates are a false economy if they dish or shed grit after a month.
Find the angle before you grind
Most masonry chisels sit somewhere around 60–70 degrees, and carbide-tipped edges are often blunter still. Do not guess. Measure the existing bevel with an angle gauge, or make a simple wooden jig that holds the chisel at the angle you want. Colour the bevel with a marker, take a few light strokes and look at where the metal is being removed. If the marker is coming off unevenly, adjust your hand or the jig before you keep going.
For flat chisels and bolsters, keep the bevel flat and the edge square. For points, rotate the tool steadily so the point stays concentric. For carbide-tipped chisels, use a diamond plate and keep the tool wet. Do not overheat the tip. If you see sparks, you are either pressing too hard or using the wrong abrasive. A carbide tip that blues or cracks is a replacement job, not a sharpening job.
Carbide burrs are a different animal
Rotary carbide burrs are not chisels, and they do not get sharpened on a diamond plate in the same way. They cut with many small edges, and once those edges chip or clog, the burr is usually better replaced than rescued. Keep burrs clean with a wire brush and a suitable solvent, inspect them for chipped teeth and stop using any burr that has lost its shape or is running out of balance. Store them in their own holder so the heads do not knock together in a drawer. If you use a die grinder or air tool, check the collet and the burr shank for wear before you fit it.
A schedule that survives real work
A sharpening routine only works if it fits around the job. Try a daily touch-up for the chisels and points you have used that day: a few light strokes on the fine plate, a check with the marker and back into the box. Once a week, spend twenty minutes on a proper inspection. Look for chipped edges, cracked carbide, mushroomed heads and loose handles. Dress any mushroomed head with a grinder or file before it splits and turns into a hand injury. Clean the diamond plates and check they are still flat.
Once a month, do a deeper session. Reshape any tools that have been abused, replace worn plates, check your jigs and clear out the red-tag box. Keep a simple two-box system: sharp and ready, and dull or damaged. That way nobody grabs a blunt chisel because it was the first one on the shelf.
When sharpening beats replacing
A steel chisel with a dull edge or a small nick is worth sharpening. A chisel with a crack, a heavily mushroomed head, a loose handle or a worn-down body is not. Carbide-tipped tooling is worth sharpening while the tip is intact; once the carbide is cracked, missing a chunk or loose on its braze, replace it. Re-tipping can make sense for expensive specialist tooling, but for most small shops a new tip or a new chisel is the cheaper answer. Points can be re-pointed several times, but a bent or badly overheated point is scrap.
The test is simple: if sharpening takes ten minutes and gives you another week of clean work, do it. If it takes an hour and the tool is still unreliable, replace it and move on. A £30 chisel that is maintained properly will outlast three that are run until they are useless.
Build the bench once, keep it clear and use it every week. Sharper edges mean less bouncing, less dust and less downtime. That is not a luxury for a stone shop. It is part of the kit.